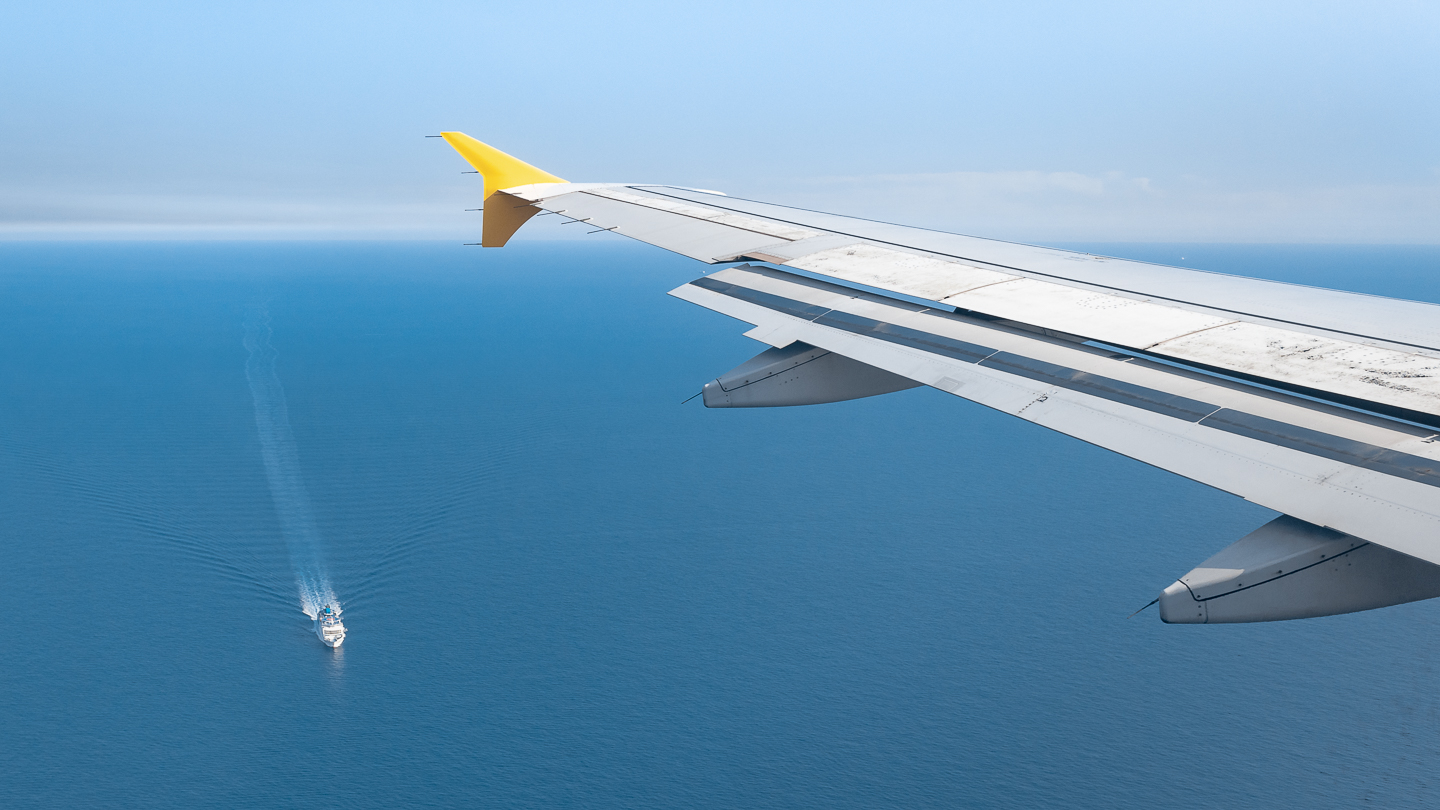
Aerial shots taken from an airliner often leave something to be desired. The plane’s windows can degrade image quality so much that achieving decent-looking results is nearly impossible without some serious photo-editing. Here are 7 suggestions to maximize your outcome:
- Seating
Choose a window seat on the side away from the sun. Facing the sun will expose the imperfections of the window. To avoid convection turbulence caused by the hot engine exhaust, take a seat in front of the wing. Websites such as AeroLOPA, SeatGuru or SeatMaps provide detailed information on cabin layouts, seat maps etc., for most common airliners. - Aircraft Window
Clean the window with a lens or eyeglass cloth. ;-) - Photo Gear
No matter how advanced your camera is, it won’t be able to make up for the loss of image quality caused by the atmospherics and the window. A smartphone can be a perfectly adequate choice.
- Camera Angle
Keep your camera as perpendicular as possible to the window plane. Any tilt will accentuate the issues with the window. - Focal Lengths
Avoid extreme focal lengths. Wide angle may bring the window frame into the picture, telephoto will expose the imperfections of the window. - Shutter Speed
To avoid motion blur in your aerial shots, use a shutter speed of at least 1/400 for wide angle and 1/1000 for telephoto. - Composition
Depending on how bumpy your flight is, you may have trouble framing your shot. Just go a little wider to allow for cropping in post. Historical flight data will give you an idea of the views you can expect along the way. Use a platform like flightradar24.com to find out more.
Have a safe trip and many great aerial shots!